
 I asked my dear friend Jessica, the nutritional health counselor, for another post as we begin to navigate this New Year. I, for one, have really indulged this holiday season. I'm not one for diets but I do recognize the need for clean eating after a few days, weeks or a whole SEASON of indulgences... So, with that in mind, enjoy Jessica's wisdom and advice:
It may sound simple, but...
As your eating habits get cleaner, you start to really enjoy the simplest foods - things with only three or four ingredients.
When shopping in a store, this should be a guideline for us. If you feel the ABSOLUTE NEED to buy prepackaged/prepared foods, try to limit it to foods that have no more than 5 ingredients. Your stomach, face, hair, skin, brain, emotional stability, etc. will thank you!
Continuing along the vein of Winter foods, as we hunker down for the serious bit of it, we keep tackling the challenge of satisfying our instinctive desires for higher carbohydrate foods. The stage is beautifully set for whole grains.
No, I don't mean brown Wonderbread...lol
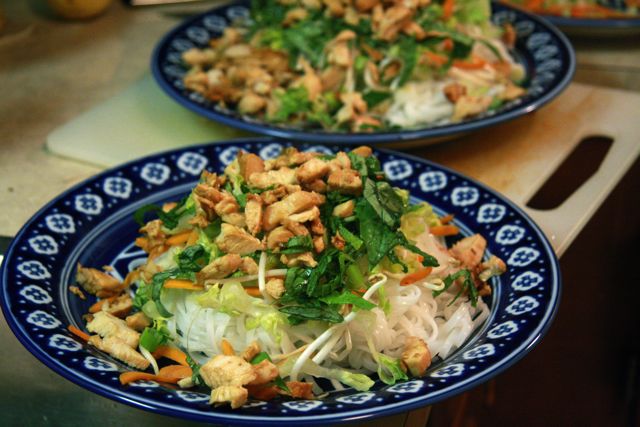
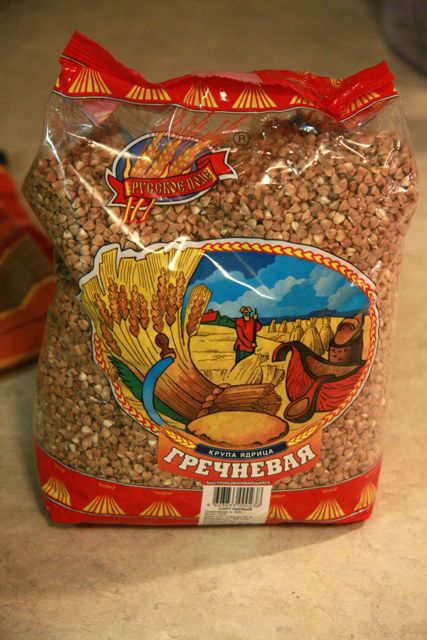
I mean little pearls of goodness that can be found at your local natural market in the bulk bins. Things like quinoa, millet, barley, buckwheat, wild rice blends, and the like. There are hundreds, depending where in the country you are.
Today, I had some fun with millet. This little round golden grain has been cultivated in East Asia for the last 10,000 years. It is safe for those with gluten intolerance, such as Coeliac's, and provides about 11% protein by weight. It is rich in B vitamins, especially niacin, B6, folic acid, calcium, iron, potassium, magnesium, and zinc. Millet does contain a mild thyroid peroxidase inhibitor, so should be eaten in moderation by people with thyroid problems.
Ok, got all that mumbo-jumbo out of the way, now this stuff tastes G-O-O-D!
As with most grains, millet should be soaked in an "acid bath" to remove the stomach irritating saponins (yes, naturally occuring soap). This is easy. Put your millet - a cup or so - in a small bowl and fill with water to about 1/2 inch above the grain. Then pour 2 tablespoons of either fresh lemon juice or raw apple cider vinegar and mix in. Cover, place somewhere warm (top of stove does fine) for at leat 4 hours, if not overnight. You can leave this longer to open the grain up and some people go so far as to let it ferment a bit. Not I.
In the morning, run water through it a few times and throw water out. Then put in saucepan with enough water to cover and bring to a boil. Simmer til tender - sometimes it absorbs all the water, sometimes you have to drain it off, but when it's done it'll have the consistency of slightly al-dente pasta.
Drain.
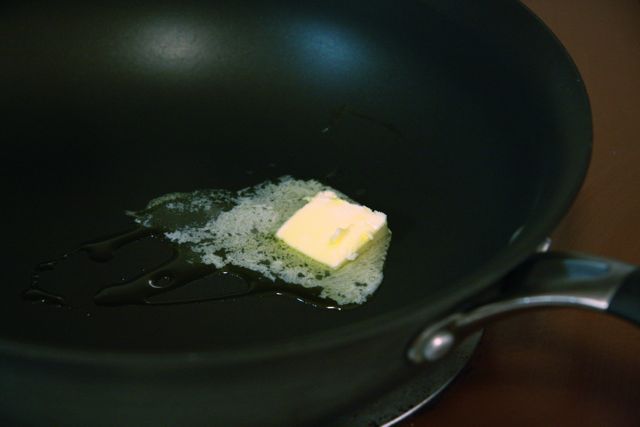
Then, the fun begins. First, you need to decide what kind of fat you want to add. Yes fat. Get over it. You need it for your skin, eyes, organs, and BRAIN! Also, the nutrients in whole grains are mostly fat-soluble, meaning they are ONLY bioavailable to your body when accompanied by wholesome fats.
I prefer to add some raw milk butter, but as that is hard to get in NY, olive oil does the trick.
Then, I like to add some aromatics - garlic and/or onion.
Then, some herbs and/or chopped tomato.
Eat warm. YUM!
Today, I did the following - to a 1/2 cup serving of warm millet, I added:
1 teaspoon butter
2 tablespoons of VERY FINELY chopped raw red onion
note: I let the onion rest for a few minutes after chopping to let go of it's bitter bite before adding to bowl
about one teaspoon of fresh thyme
1 tablespoon olive oil (first cold pressed)
a pinch of pink himalayan sea salt
1 tablespoon of crumbled raw milk sharp cheddar
Another awesome thing about these grains is that the other half cup I made can be stored for later. You can make a sweet treat out of it by adding some cinnamon, clove, cardamom, and either maple syrup or agave nectar and it turns out like a yummy sort of rice-pudding-y concoction.
Go out and see what grains your local market has! Most can be prepared as above, with a preliminary acid soak. If you find something you don't know what to do with, feel free to email me with questions!
Happy Winter Eats!
jessica@732eattrue.com
www.732eattrue.com
As your eating habits get cleaner, you start to really enjoy the simplest foods - things with only three or four ingredients.
When shopping in a store, this should be a guideline for us. If you feel the ABSOLUTE NEED to buy prepackaged/prepared foods, try to limit it to foods that have no more than 5 ingredients. Your stomach, face, hair, skin, brain, emotional stability, etc. will thank you!
Continuing along the vein of Winter foods, as we hunker down for the serious bit of it, we keep tackling the challenge of satisfying our instinctive desires for higher carbohydrate foods. The stage is beautifully set for whole grains.
No, I don't mean brown Wonderbread...lol
I mean little pearls of goodness that can be found at your local natural market in the bulk bins. Things like quinoa, millet, barley, buckwheat, wild rice blends, and the like. There are hundreds, depending where in the country you are.
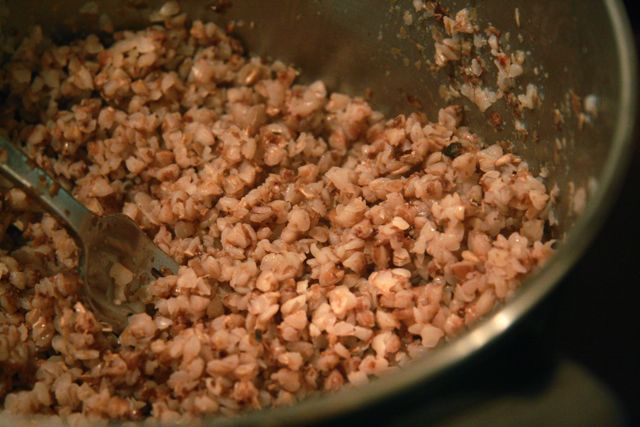
Today, I had some fun with millet. This little round golden grain has been cultivated in East Asia for the last 10,000 years. It is safe for those with gluten intolerance, such as Coeliac's, and provides about 11% protein by weight. It is rich in B vitamins, especially niacin, B6, folic acid, calcium, iron, potassium, magnesium, and zinc. Millet does contain a mild thyroid peroxidase inhibitor, so should be eaten in moderation by people with thyroid problems.
Ok, got all that mumbo-jumbo out of the way, now this stuff tastes G-O-O-D!
As with most grains, millet should be soaked in an "acid bath" to remove the stomach irritating saponins (yes, naturally occuring soap). This is easy. Put your millet - a cup or so - in a small bowl and fill with water to about 1/2 inch above the grain. Then pour 2 tablespoons of either fresh lemon juice or raw apple cider vinegar and mix in. Cover, place somewhere warm (top of stove does fine) for at leat 4 hours, if not overnight. You can leave this longer to open the grain up and some people go so far as to let it ferment a bit. Not I.
In the morning, run water through it a few times and throw water out. Then put in saucepan with enough water to cover and bring to a boil. Simmer til tender - sometimes it absorbs all the water, sometimes you have to drain it off, but when it's done it'll have the consistency of slightly al-dente pasta.
Drain.
Then, the fun begins. First, you need to decide what kind of fat you want to add. Yes fat. Get over it. You need it for your skin, eyes, organs, and BRAIN! Also, the nutrients in whole grains are mostly fat-soluble, meaning they are ONLY bioavailable to your body when accompanied by wholesome fats.
I prefer to add some raw milk butter, but as that is hard to get in NY, olive oil does the trick.
Then, I like to add some aromatics - garlic and/or onion.
Then, some herbs and/or chopped tomato.
Eat warm. YUM!
Today, I did the following - to a 1/2 cup serving of warm millet, I added:
1 teaspoon butter
2 tablespoons of VERY FINELY chopped raw red onion
note: I let the onion rest for a few minutes after chopping to let go of it's bitter bite before adding to bowl
about one teaspoon of fresh thyme
1 tablespoon olive oil (first cold pressed)
a pinch of pink himalayan sea salt
1 tablespoon of crumbled raw milk sharp cheddar
Another awesome thing about these grains is that the other half cup I made can be stored for later. You can make a sweet treat out of it by adding some cinnamon, clove, cardamom, and either maple syrup or agave nectar and it turns out like a yummy sort of rice-pudding-y concoction.
Go out and see what grains your local market has! Most can be prepared as above, with a preliminary acid soak. If you find something you don't know what to do with, feel free to email me with questions!
Happy Winter Eats!
jessica@732eattrue.com
www.732eattrue.com


